Getting Started
Updated 09.11.2026 3 min read
What is a “Gallery”?
A gallery is the main tool for delivering finished photos to your clients. Instead of sending links to ordinary cloud storage (like Google Drive or file-sharing services), you create a beautiful personal page for your client with their photoshoot.
Clients can not only easily view and download photos, but also mark their favorite shots with the favorites feature, watch videos, and much more.
How to create your first gallery?
Creating a new gallery takes less than a minute.
- Click the Create gallery button — the blue button at the top of the left menu.
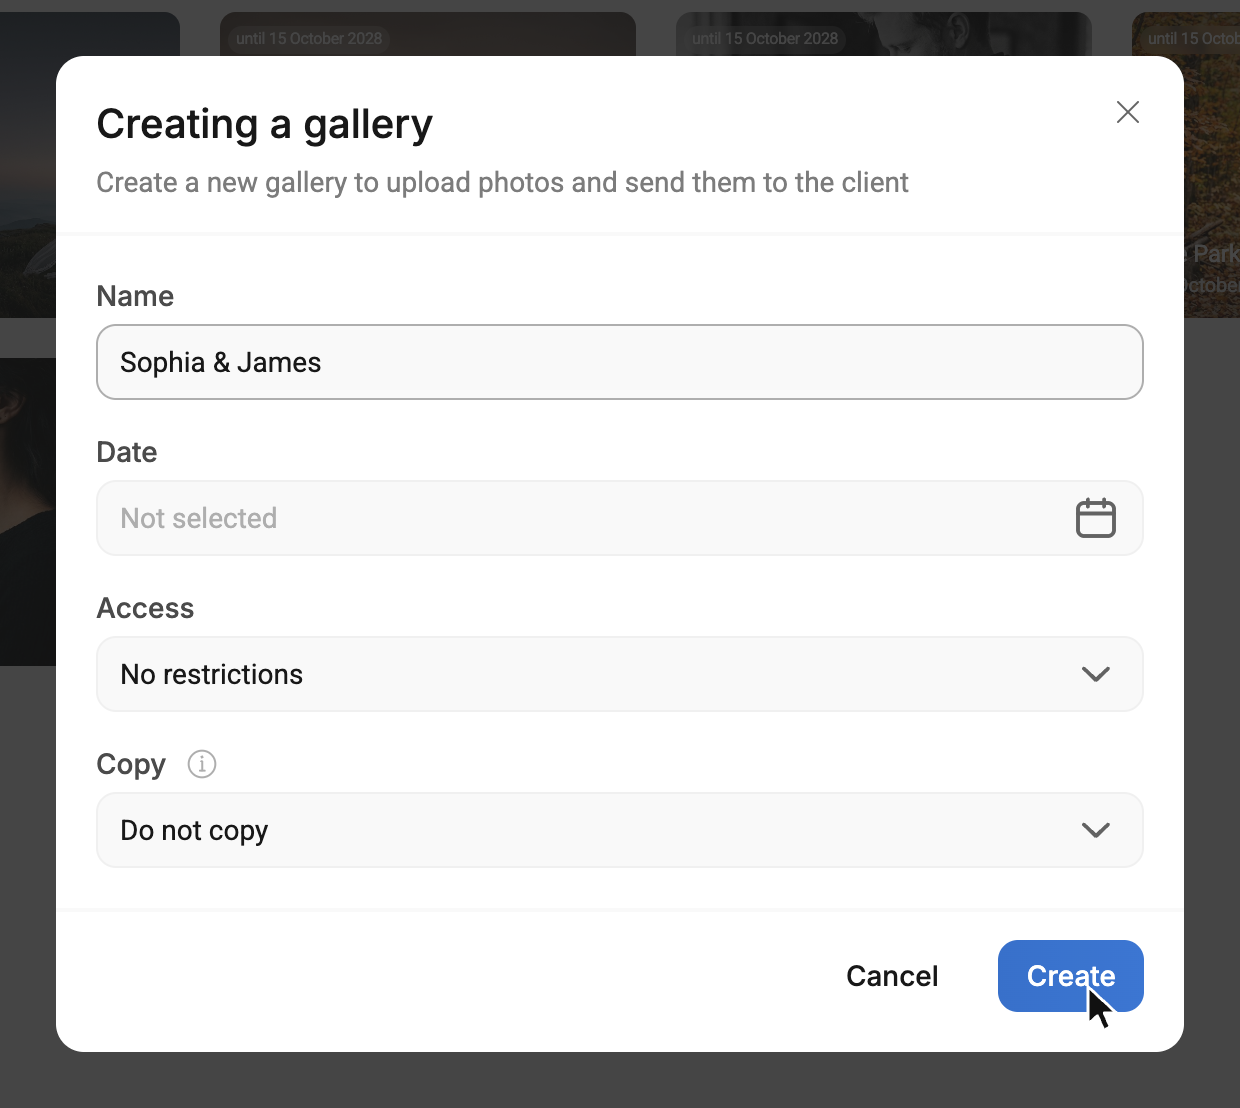
- In the “Creating a gallery” window, fill in the details:
- Name: (For example, “Anna and Oleg's Wedding” or “Sophia's Christening”). This name will be shown on the cover.
- Date: This can be the date of the shoot itself. It helps you find your way around your list of projects.
- Access: how long the gallery will be available to the client — “No restrictions”, 1 day, 7 days, 30 days, 90 days, or 1 year. When the period ends, the gallery will be hidden from the client but will still remain in your storage, and you can extend access or delete it if needed. Learn more about saving files and archives
- Copy: (Optional) If you've created galleries before, you can pick one of them to carry over all its settings (except photos and scenes).
- Click the Create button.
What to do next?
Once the gallery is created, you'll be taken into it — to the “Files” tab. Here are the basic steps to get it ready for your client:
1. Upload photos or videos
Upload your files with the “Upload file” button, splitting them into logical blocks (for example, “Getting Ready”, “Ceremony”, “Reception”). Scenes are used for this.
2. Set up the cover
Choose the best photo from the shoot — it will be the first thing on screen when the gallery opens. The look of the gallery — template, gallery layout, theme, photo grid, fonts — is set up on the “Design” tab.
3. Change the link address (if needed)
Each gallery gets a unique, secure link that you'll send to your clients. You can customize this link to make it more personal.
4. Send the link to your client
When the gallery is ready, click the “Share” button in the top right corner of the gallery — a window with the link and a QR code will open. Copy the link and send it to your clients in any messenger you like. Clients can view galleries on any device.
Other useful tools
While working with galleries, you can also use advanced features:
- View analytics: the gallery's “Statistics” tab. Learn more about statistics
- Privacy: Your client can hide individual photos and scenes from other guests. Learn more about hiding photos
- Working with Lightroom/Capture One: You can export a list of the files your clients have selected for retouching. Learn more about importing selected photos. In Lightroom Classic, the Gallera plugin puts favorites into a collection for you.