How to create your first site
Updated 09.11.2026 5 min read
The easiest way to create a new site is from a template: it already has pages, blocks and a design. All you need to do is replace the texts and photos with your own and publish the pages. You can also start from a blank site.
Step 1. Create a site
- Open the “Websites” section in the sidebar of your account.
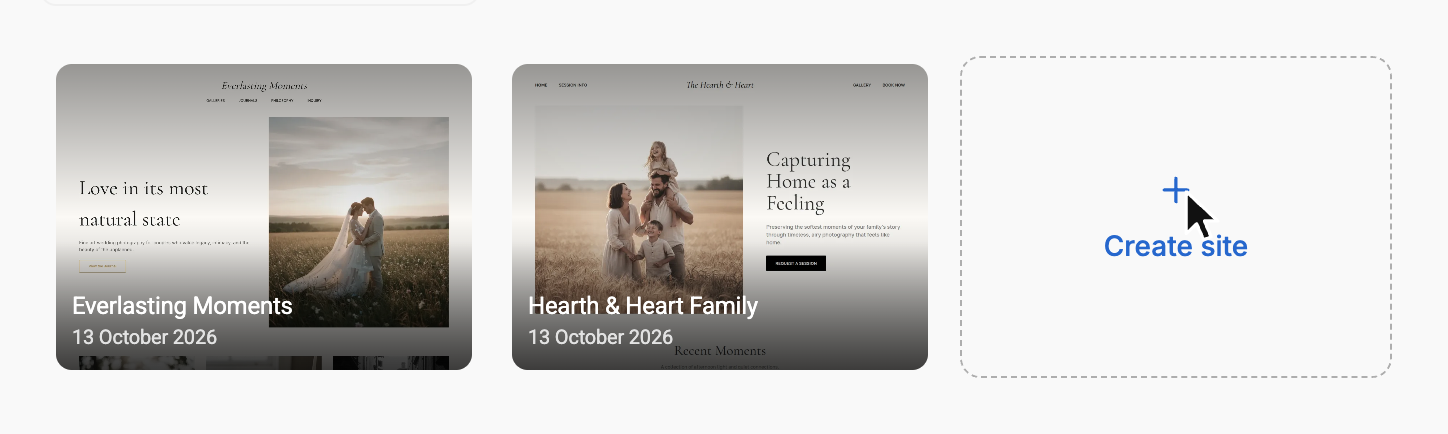
- Click “Create site”.
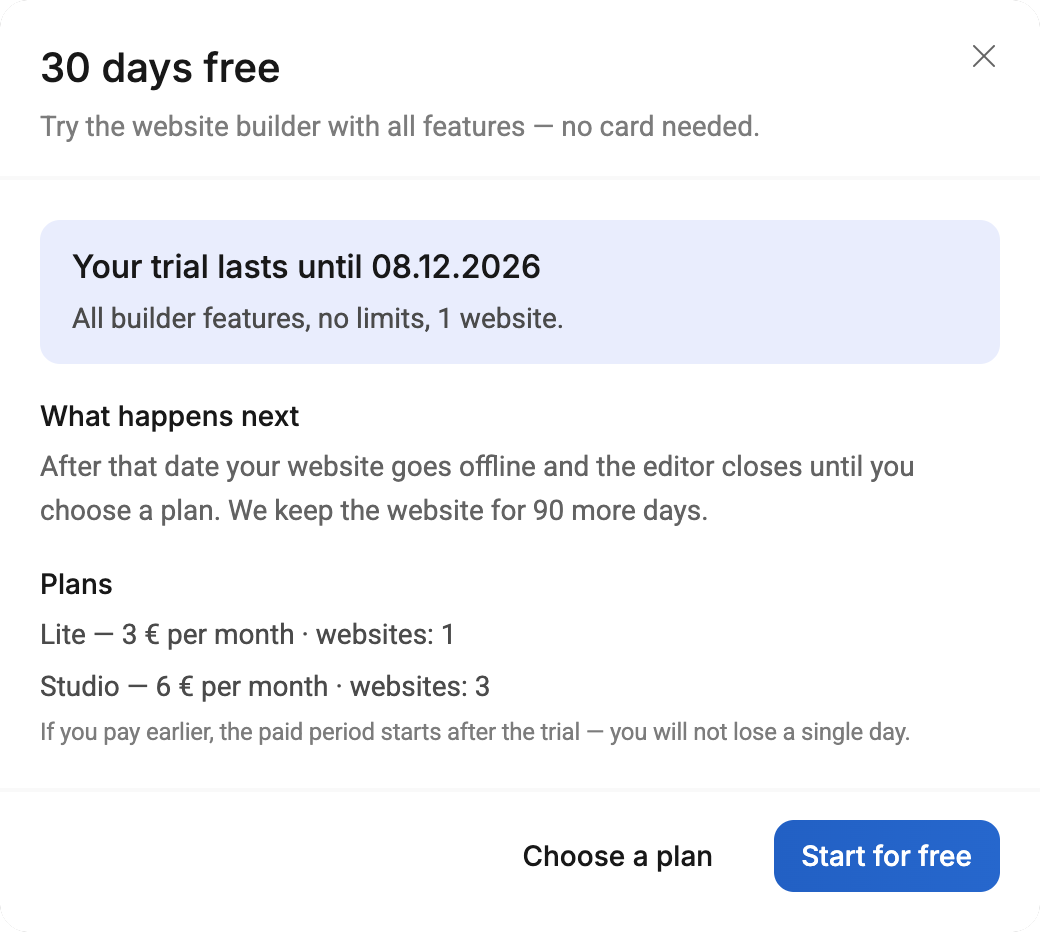
If this is your first site, a trial window appears. Click “Start for free”: for 30 days the builder works with all features, no card needed. To learn what happens after the trial, see Trial and site plans.
Step 2. Choose a name, address, language and template
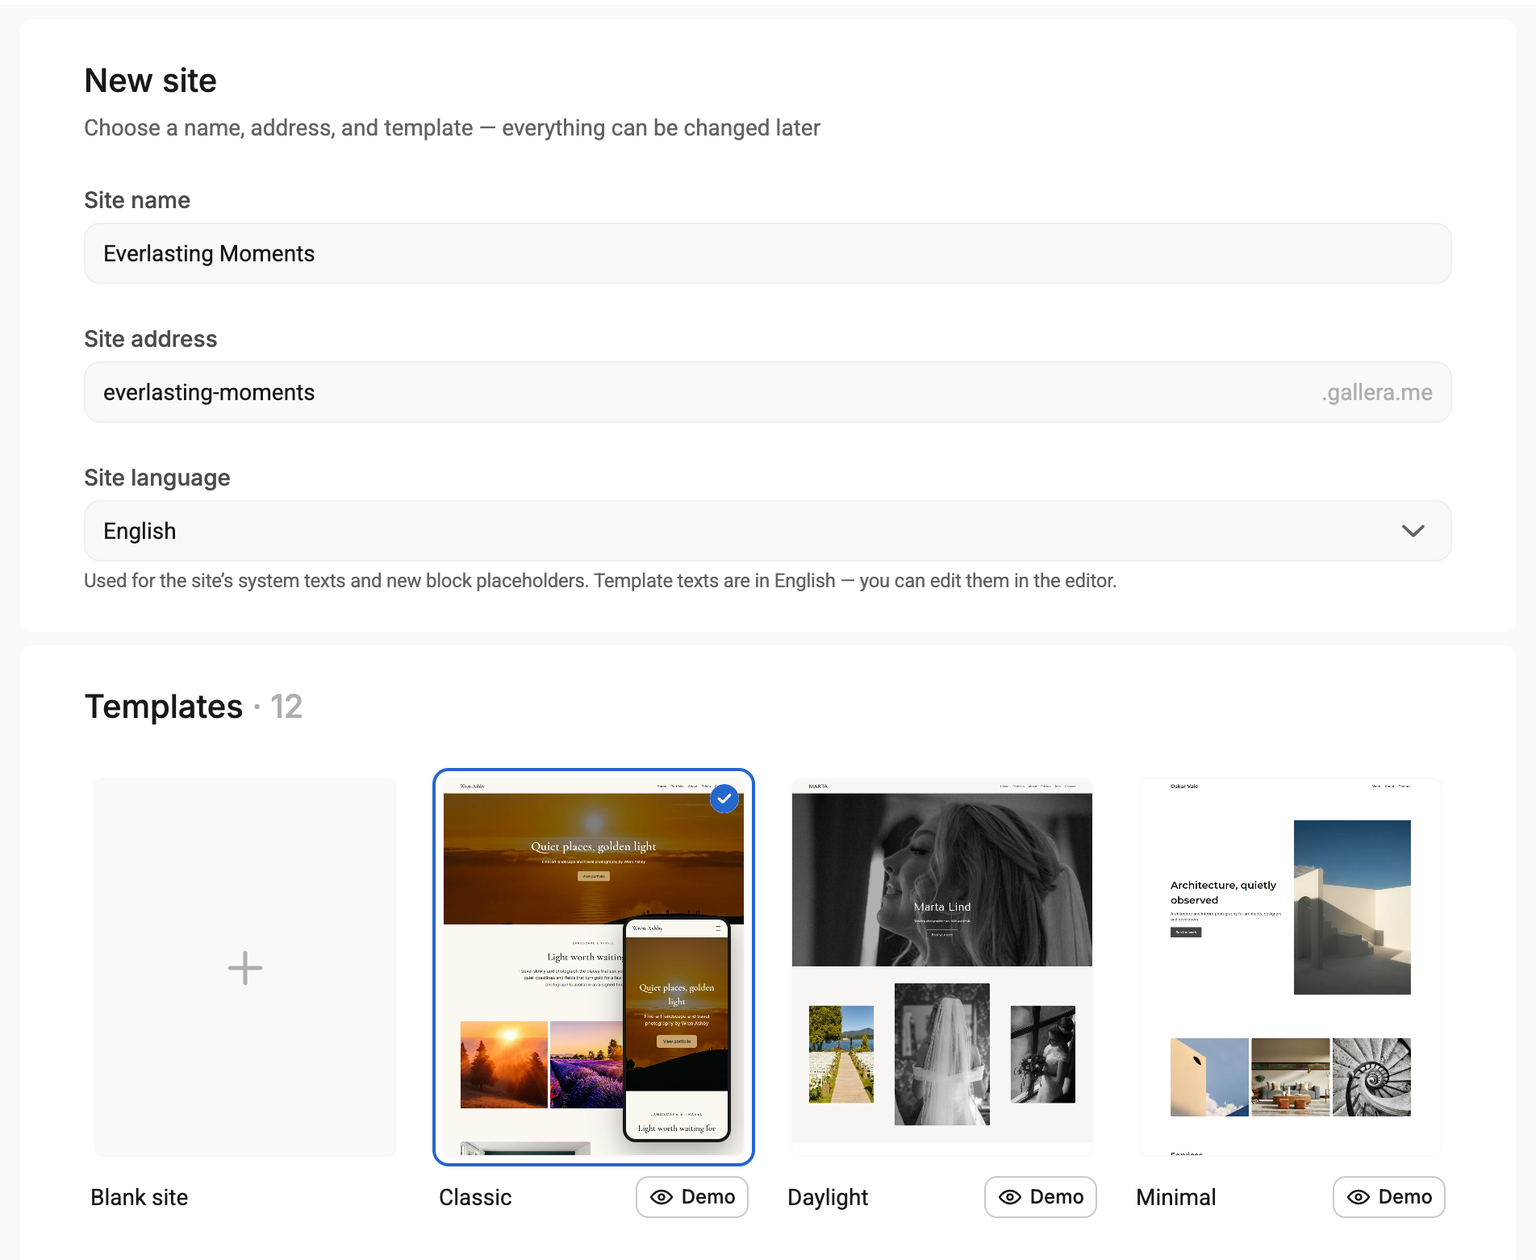
On the “New site” page, fill in:
- Site name — the name of your studio or your own name. You see it in your account, and most templates also show it in the site header.
- Site address — the address on the platform, such as
olenaphoto.gallera.me. Use lowercase Latin letters, digits and hyphens (but not at the start or end), up to 63 characters. A few service addresses are reserved, such aswww,adminandhelp. - Site language — used for the site's system texts and new block placeholders. By default, it's the language of your Gallera account.
- Templates — the design and set of pages your site starts with. A template card shows how the site looks on a computer, and when you hover over it — on a phone too. The “Demo” button under the card opens a demo site in a new tab: you can scroll through it and view it in phone mode.
- “Blank site” — the first card among the templates. The site starts with an empty home page with a simple header and footer, and you add the blocks yourself.
Click “Create site” — the editor of your new site opens right away.
You can change the name, address and template later in the site settings. But you'll start sharing the address with clients, so it's best to pick the final one right away: after a change, the old link stops working.
The language you choose when creating the site becomes its main language. You can add other languages in the site settings: “General” → “Site languages”.
Step 3. Replace the texts and photos
A site created from a template is already filled with example texts and photos. Go through the pages and replace them with your own:
- Text — click it right on the page and type.
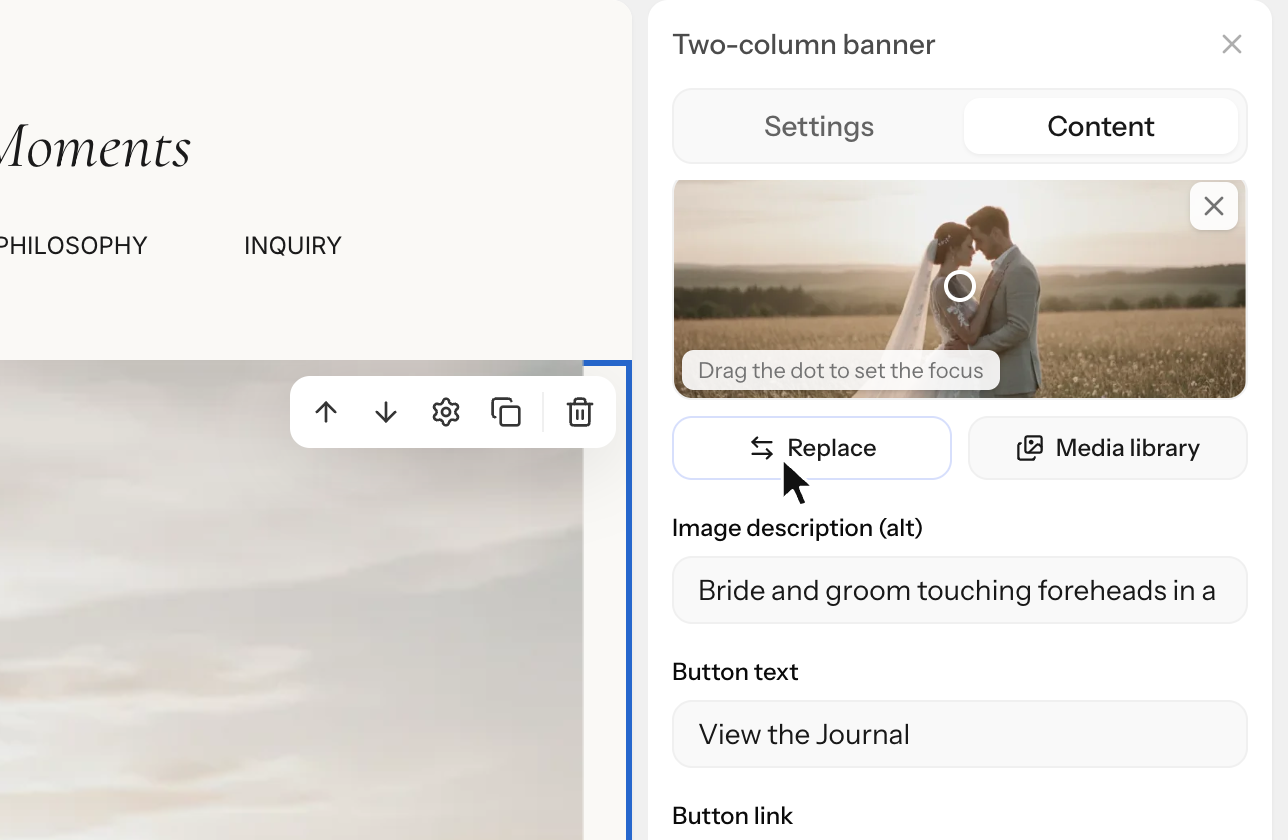
- Photo — click the block, open the “Content” tab in the panel on the right and click “Replace”. The “Media library” button opens photos you've already uploaded to this site.
The media library has two tabs:
- “Uploaded” — photos of this site. With the “Upload” button or by dragging, you can add several photos at once.
- “From Gallera galleries” — photos from your client galleries in Gallera: open a gallery and pick the shots you need, no need to upload them again.
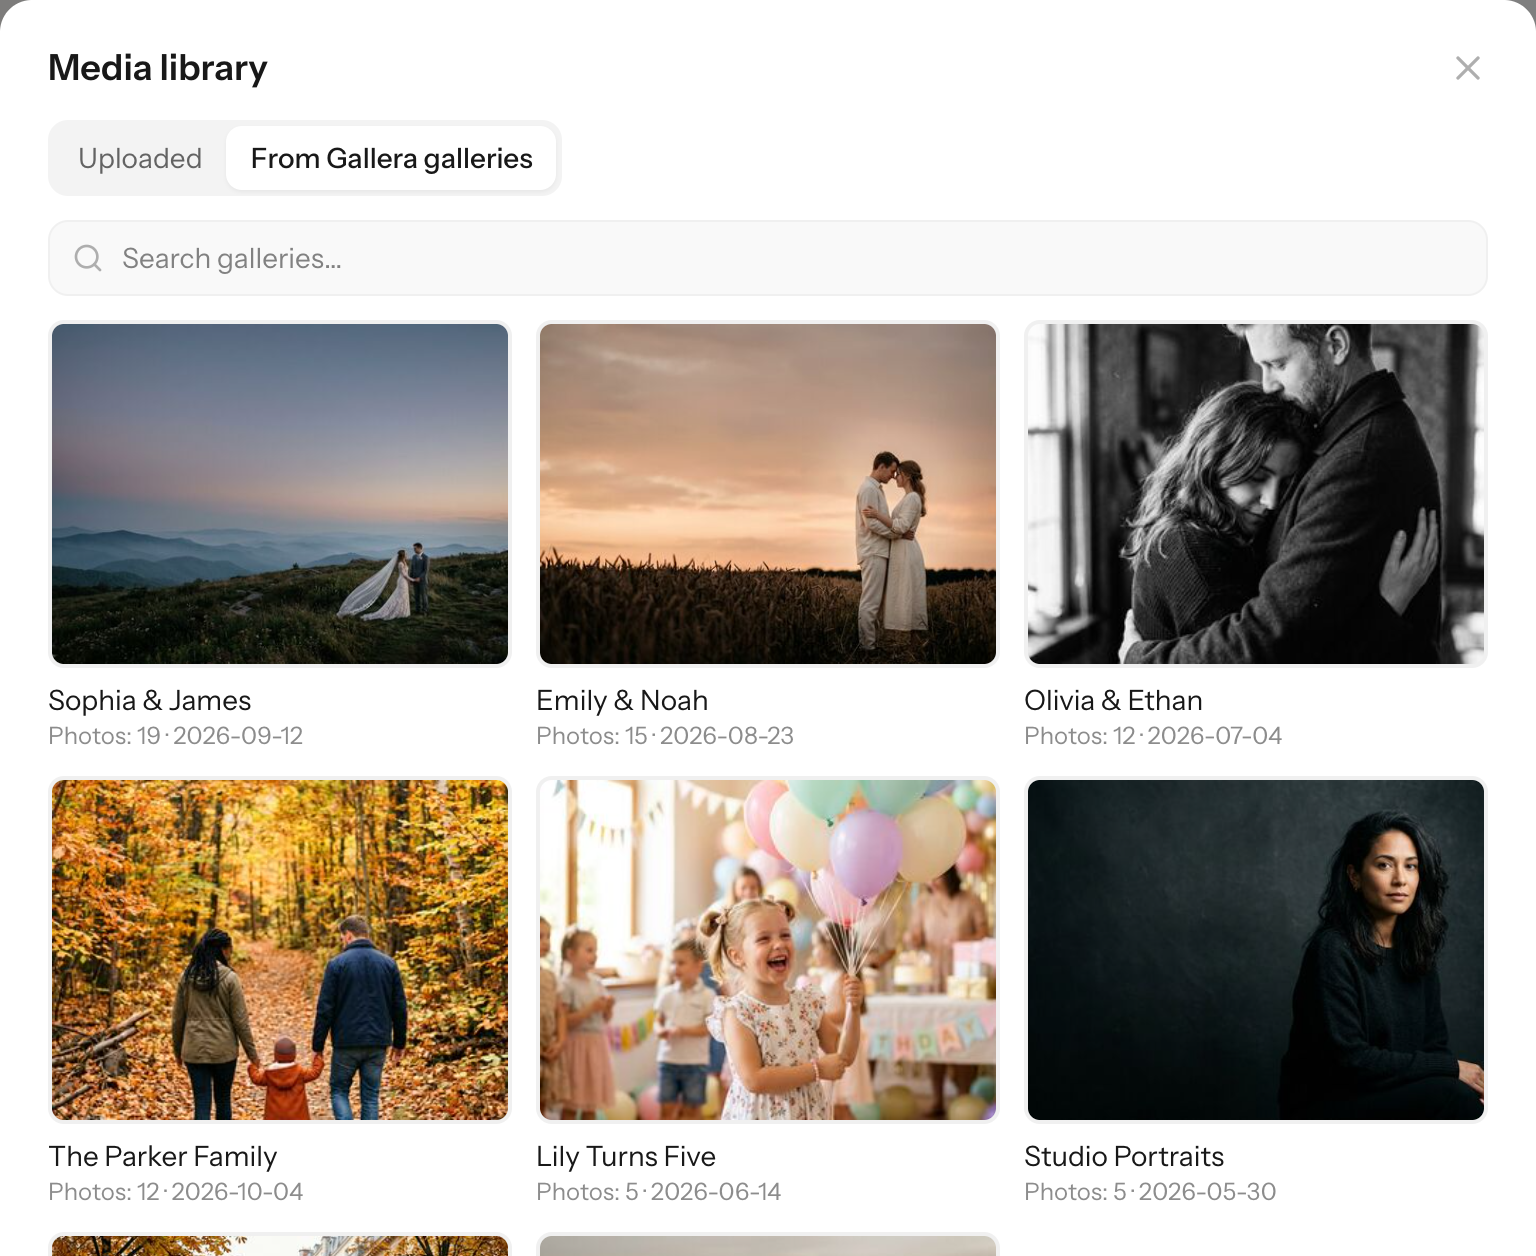
In blocks with a list of photos, such as “Gallery” or “Slider”, the “Add several from the library” button adds several photos at once: they fill the empty placeholders first, and the rest go to the end.
Other pages of the site open from the list in the top left corner — it shows the name of the current page. To learn how the editor is organized, see How the editor works.
Changes on a page aren't saved automatically. Click “Save” or press ⌘S / Ctrl+S.
Step 4. Publish the pages
Pages of a new site are created as drafts. Until you publish them, visitors see “Page not found”, and search engines don't index the site.
To publish a page, open it in the editor and click “Publish”. A window opens showing what visitors will see — click “Publish” in it once more. The status next to the page name changes from “Draft” to “Published”.

“Publish” publishes only the open page (along with the menu and the footer). Open each page of the site in turn and publish it. You can see which pages are still drafts in your account: site settings → “Pages”.
Menu items that lead to pages that aren't published yet are hidden on the site: they appear as soon as you publish those pages. The publishing window warns you if the menu leads to such pages.
Learn more in Saving, previewing and publishing.
Step 5. Check your site and share it
Open the site on your phone — that's how most clients will see it. What to check there is covered in The mobile version of your site.
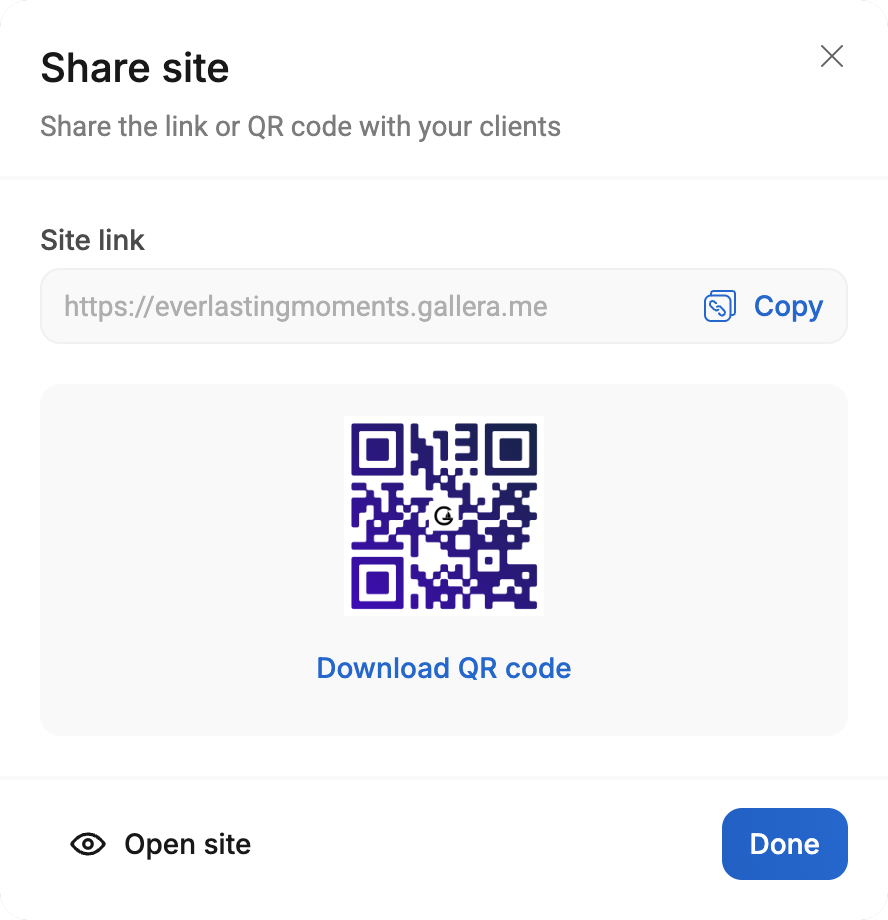
To share the site, open its settings in your account and click “Share”. In the window you can copy the link or download a QR code — it's handy for a business card or Instagram.
What's next
- Add pages and set up the menu.
- Set up the theme: colors, fonts, page width.
- Connect a custom domain.