Scenes
Updated 20.10.2026 5 min read
Scenes divide a gallery into separate "folders." They help you structure a shoot and keep the files in your gallery organized. You can group files by location, model, stage of the shoot, or any other logic that works for you and your clients.
This makes the gallery easier to navigate and helps everyone find the photos they need faster.
How to create a scene
On the “Files” tab, above the file list, there is a row of scenes: “All files”, the “Create scene” button, and your scenes. Click “Create scene” — a window opens with a field for the new scene's name.
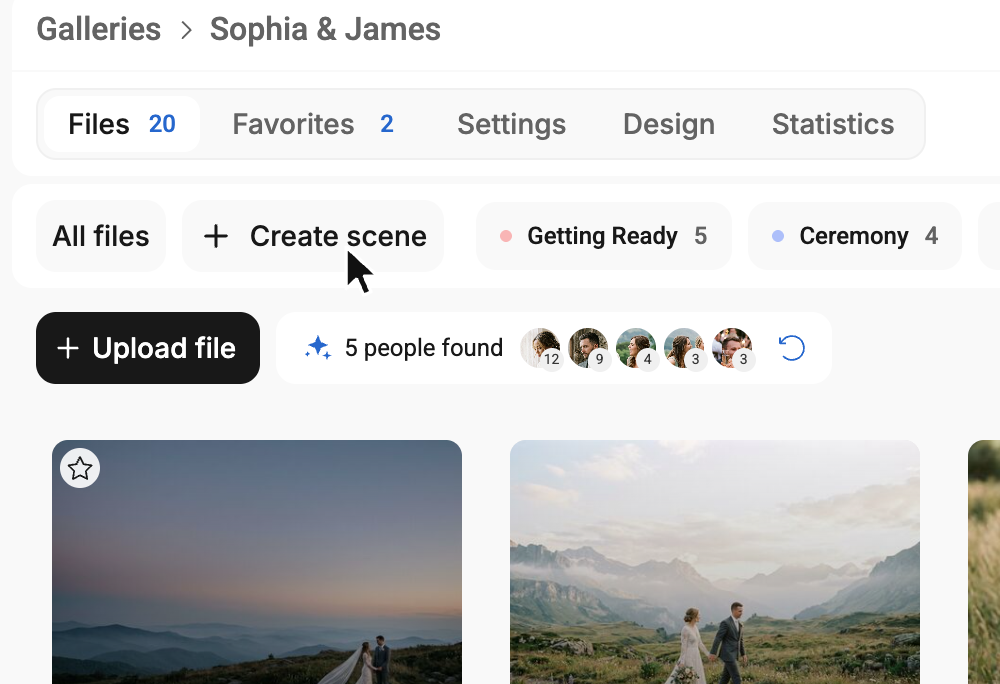
Enter a name and click “Create” — the new scene appears in the row of scenes. The scene's label color is assigned automatically; you can change it later when editing the scene.
How to add files to a scene
There are several ways to add files to a scene:
- Open the scene in the row of scenes and upload files with the “Upload file” button — they go straight into this scene.
- Select the files you need in the list (click them; to select several in a row, hold
Shift). A “Selected: N files” panel appears with an “Add to scene” button — choose the scene you need there.
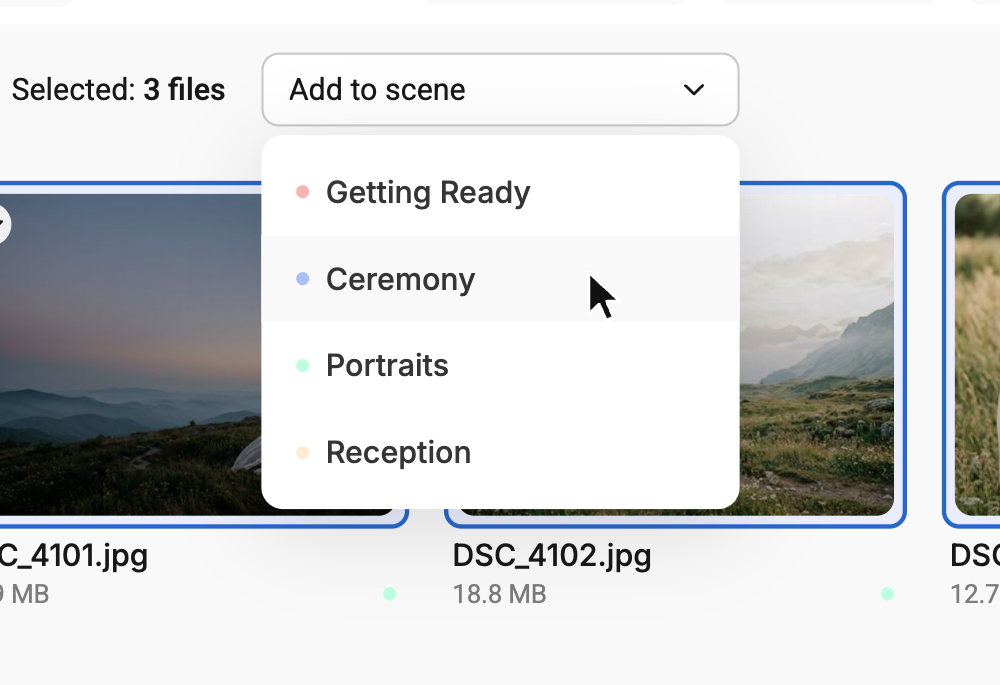
You can also add a file to a scene from the file menu — click “⋯” on the file card or right-click the file.
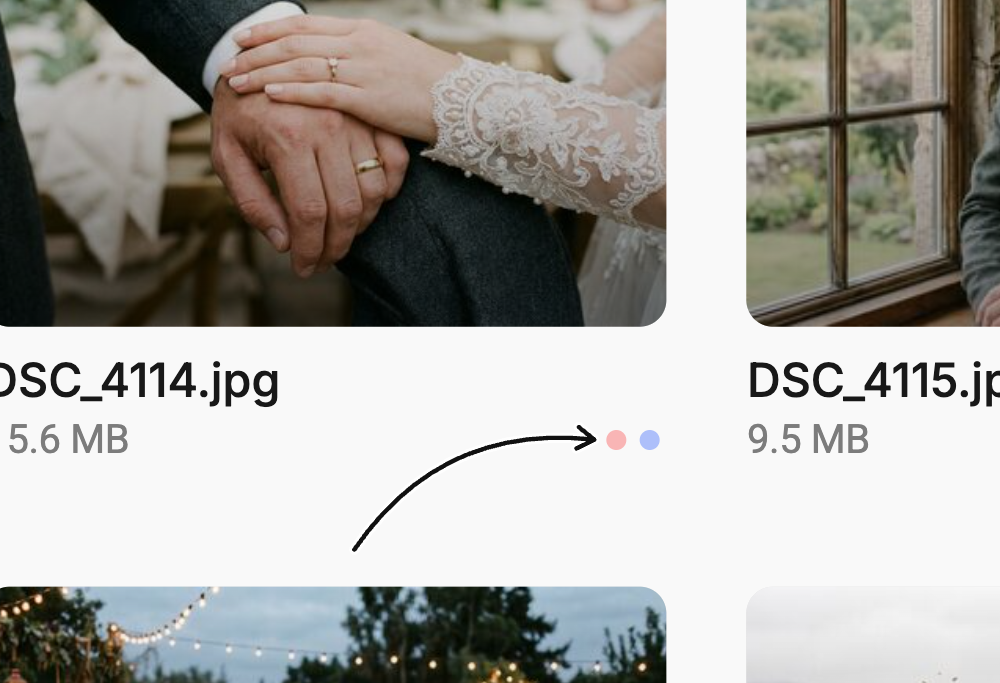
A single file can be in multiple scenes at the same time
Next to each file's size, you'll see colored labels for the scenes it belongs to. Hover over a label to see the scene name.
To remove files from a scene, open the scene, select the files, and click “Remove from scene”.
Displaying scenes in the gallery
In the gallery, the list of scenes appears at the top of the gallery below the cover, and again after the photo list at the bottom of the page. You can hide any scene or change the order of scenes.
Changing the order of scenes
To the right of the row of scenes is the “Reorder scenes” button. Click it, drag a scene by the ⋮⋮ handle to the position you want, and click “Save” — the scenes will appear in the gallery in this order.
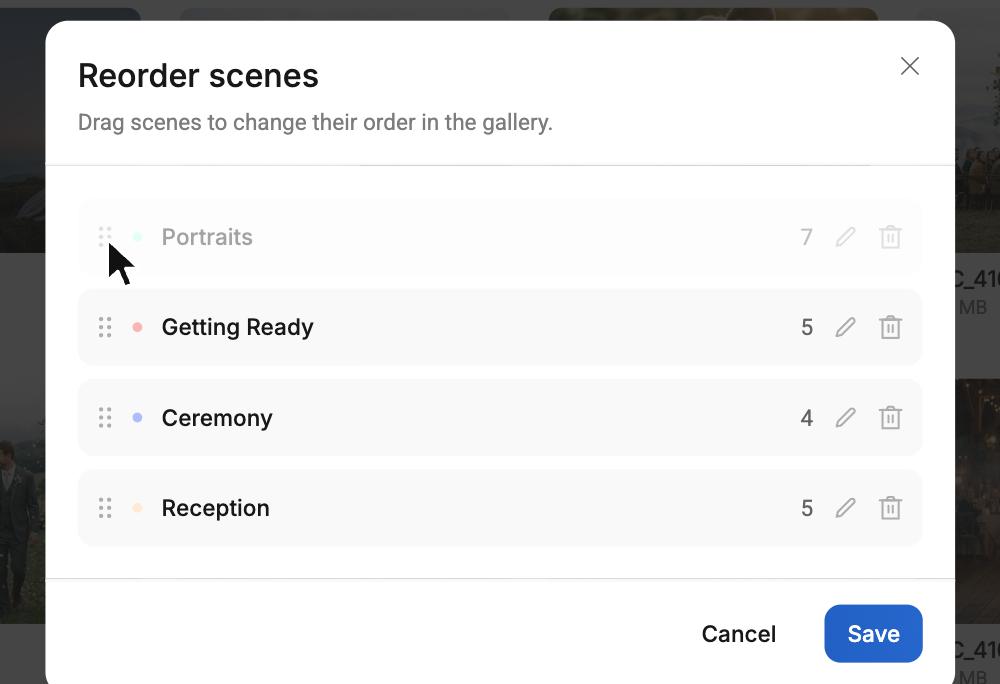
In the same window, you can edit any scene (pencil) or delete it (trash can).
Hiding a scene
Right-click the scene in the row of scenes and choose “Edit”. The pencil next to the scene in the “Reorder scenes” window does the same.
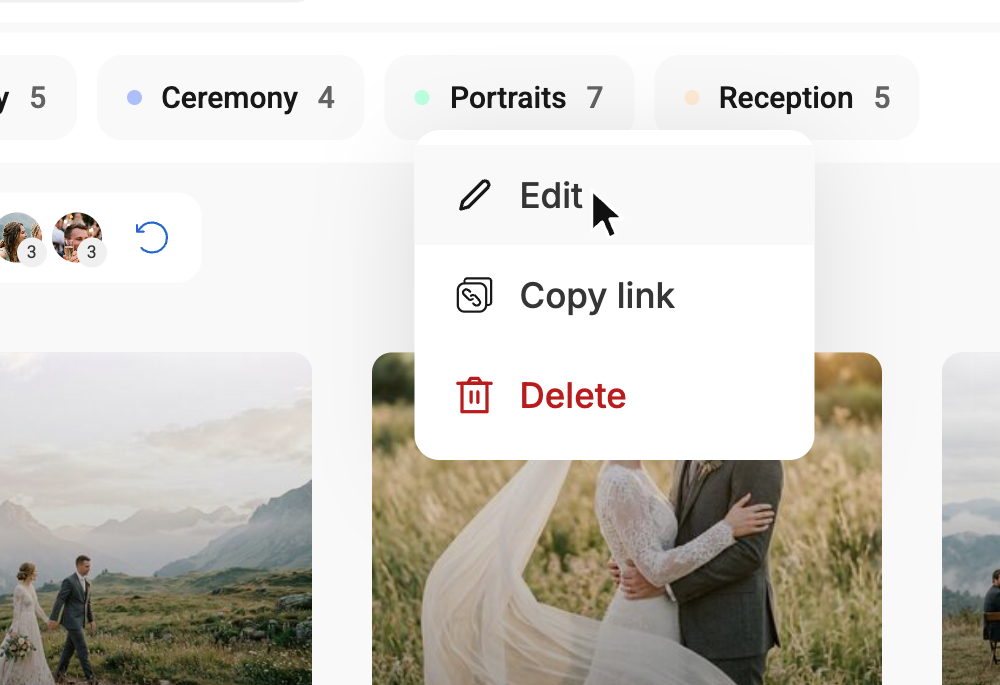
The “Edit scene” window opens. Turn on “Hide scene” and click “Save”.
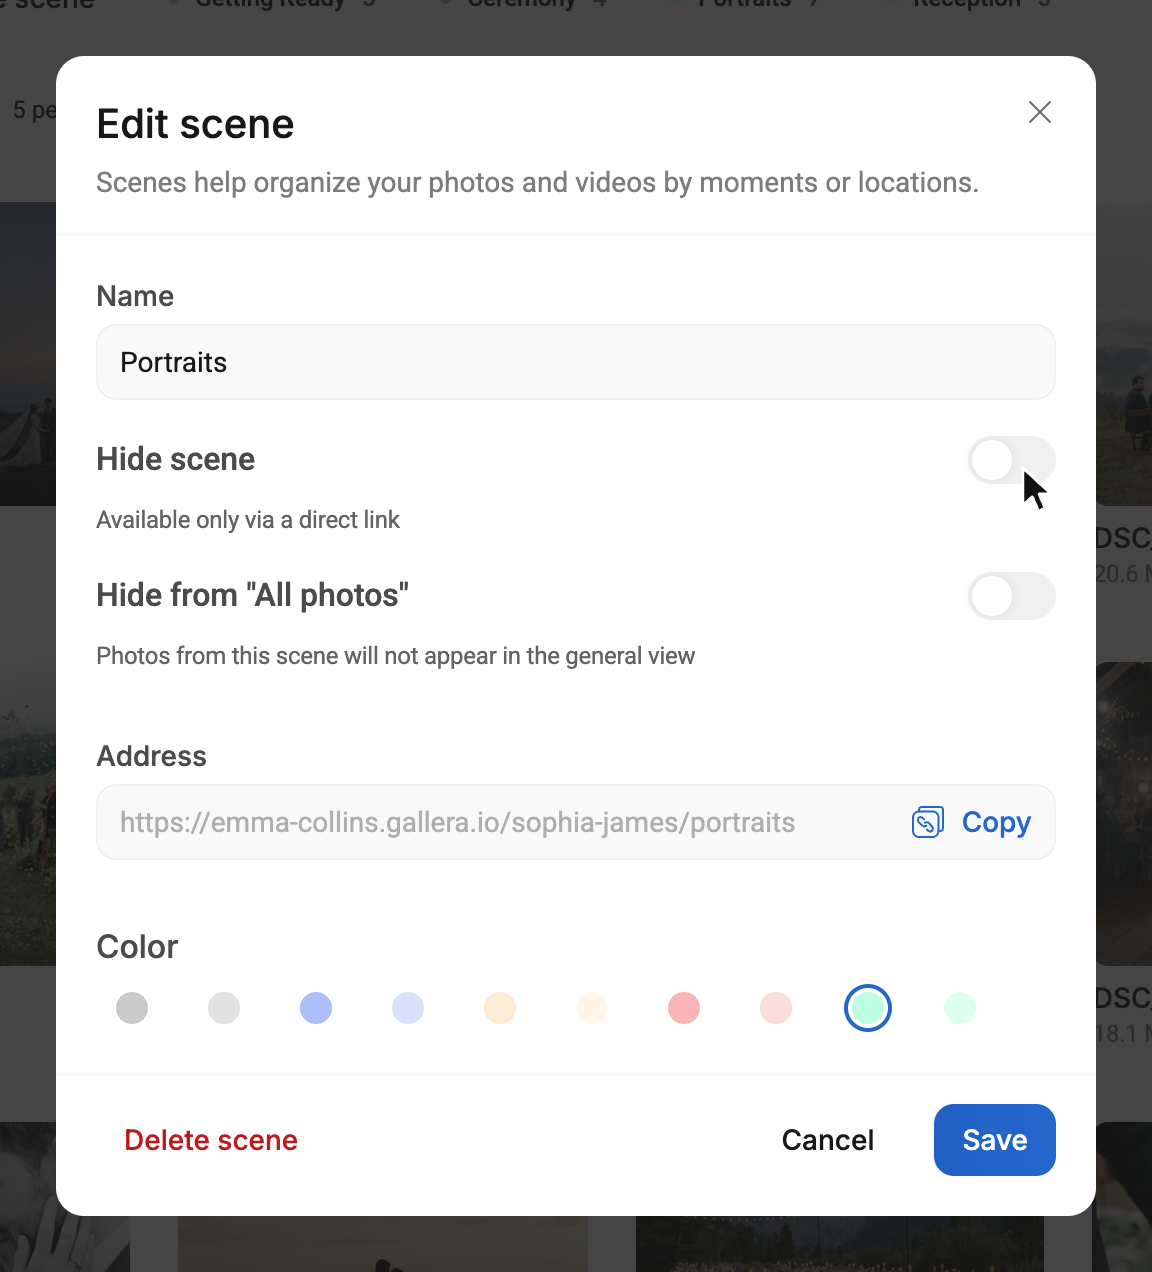
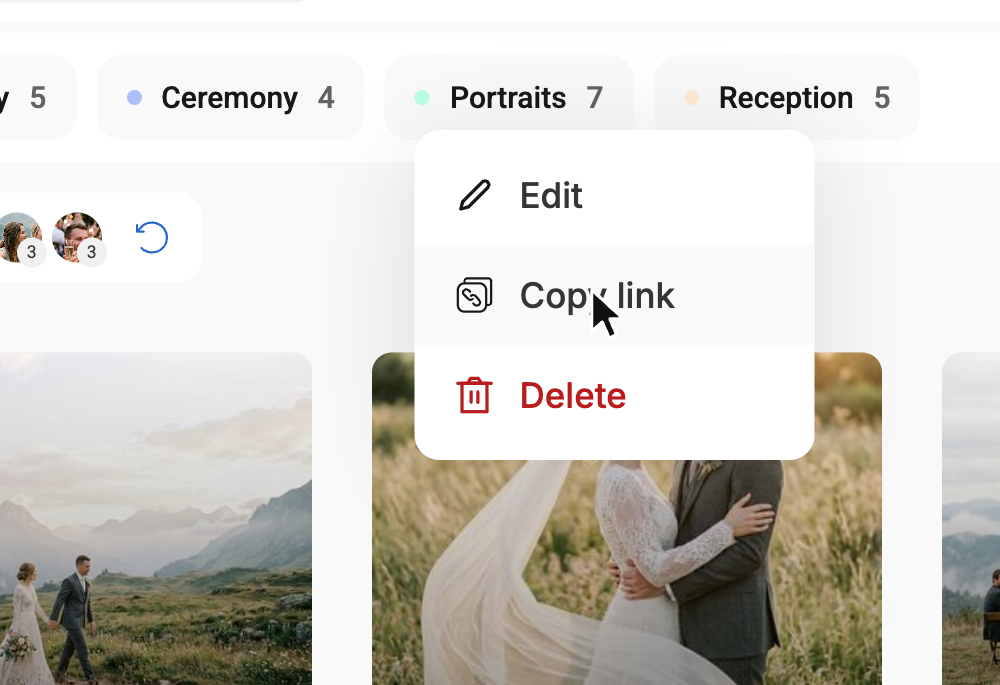
Hidden scenes are not shown in the list of scenes in the gallery, but they can still be opened via a direct link. You can copy it in the scene editing window (the “Address” field → “Copy”) or from the scene menu with the “Copy link” item.
Photos in hidden scenes are still available when viewing all files in the gallery (that is, the gallery itself).
If you also want to remove the scene's files from the general gallery view, turn on “Hide from ‘All photos’” in the scene editing window.
Hiding the view of all files
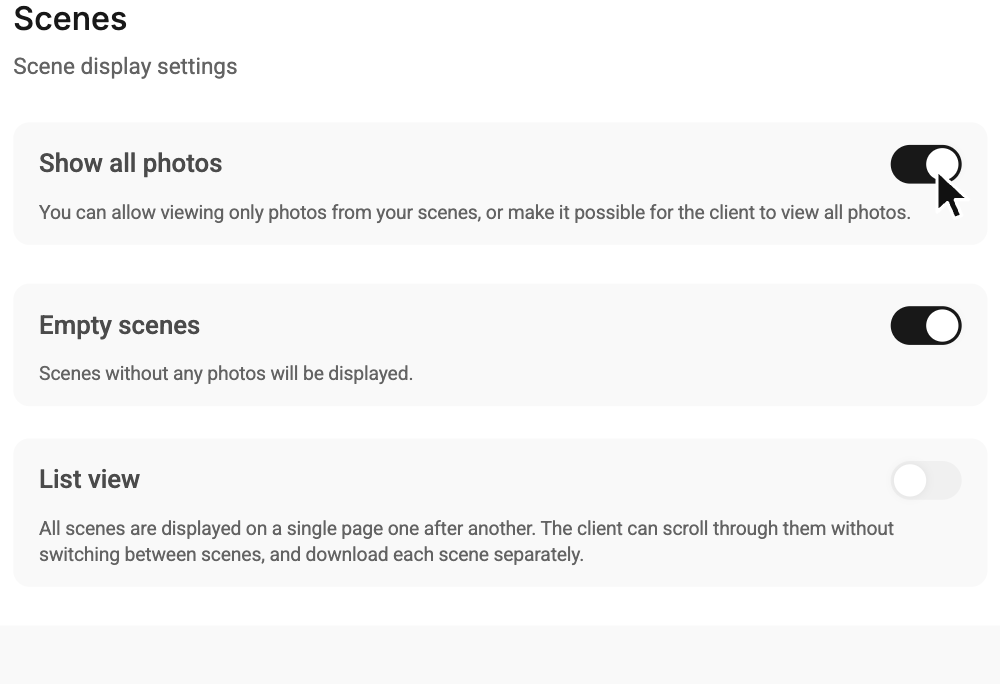
You can hide the view of all files in the gallery if you want to give the client access only to specific scenes — or, for example, if you don't want to show the photos from hidden scenes because you plan to send them to the client separately.
To do this, open the gallery's “Settings” tab, go to the “Scenes” section, and turn off the “Show all photos” toggle. Changes are saved automatically.
How to share a scene?
You can send the client a direct link to a specific scene. There are several ways to do this:
- On the “Files” tab, right-click the scene in the row of scenes and choose “Copy link”. Or open the scene for editing — there is a “Copy” button next to the “Address” field. The link is copied to your clipboard, and you can send it to the client.
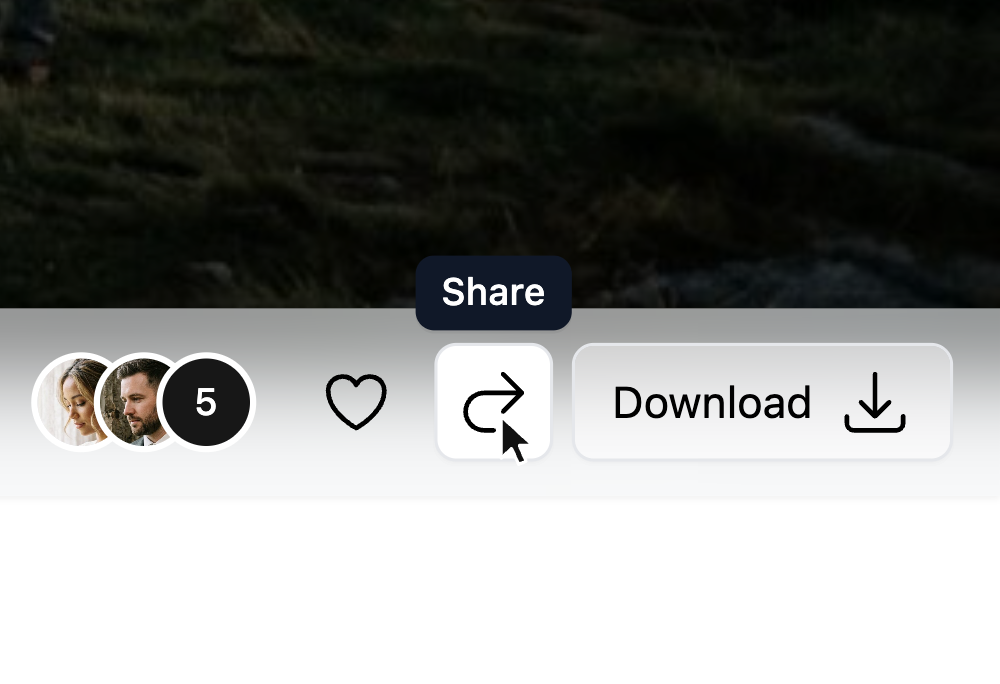
- Open the gallery, click the scene you need, and then click the “Share” button next to the “Download” button — a window opens with a link to the current scene that you can copy in one click.
How to download all photos from a scene?
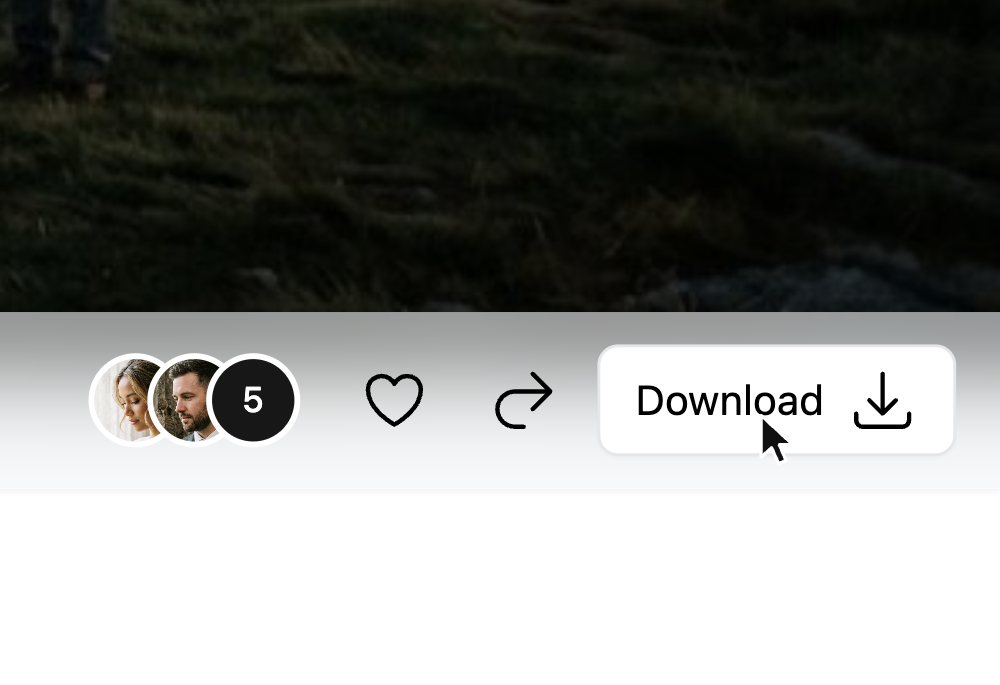
To download all photos from a scene as an archive, open the scene in the gallery (follow the link to the scene or simply choose it in the list of scenes) and click the “Download” button. On the main gallery page, this button downloads all photos; when a scene is open, it downloads only the photos from that scene.
If “List view” is turned on in the scene settings, all scenes are shown on a single page, and each scene name has its own “Copy link” and “Download scene” buttons.