Contact form
Updated 09.11.2026 4 min read
The contact form is a block that lets clients write to you right from your site. Messages arrive in your Gallera account — in the “Messages” section and in your account notifications — and by email, and if you connect Telegram, they also reach you there.
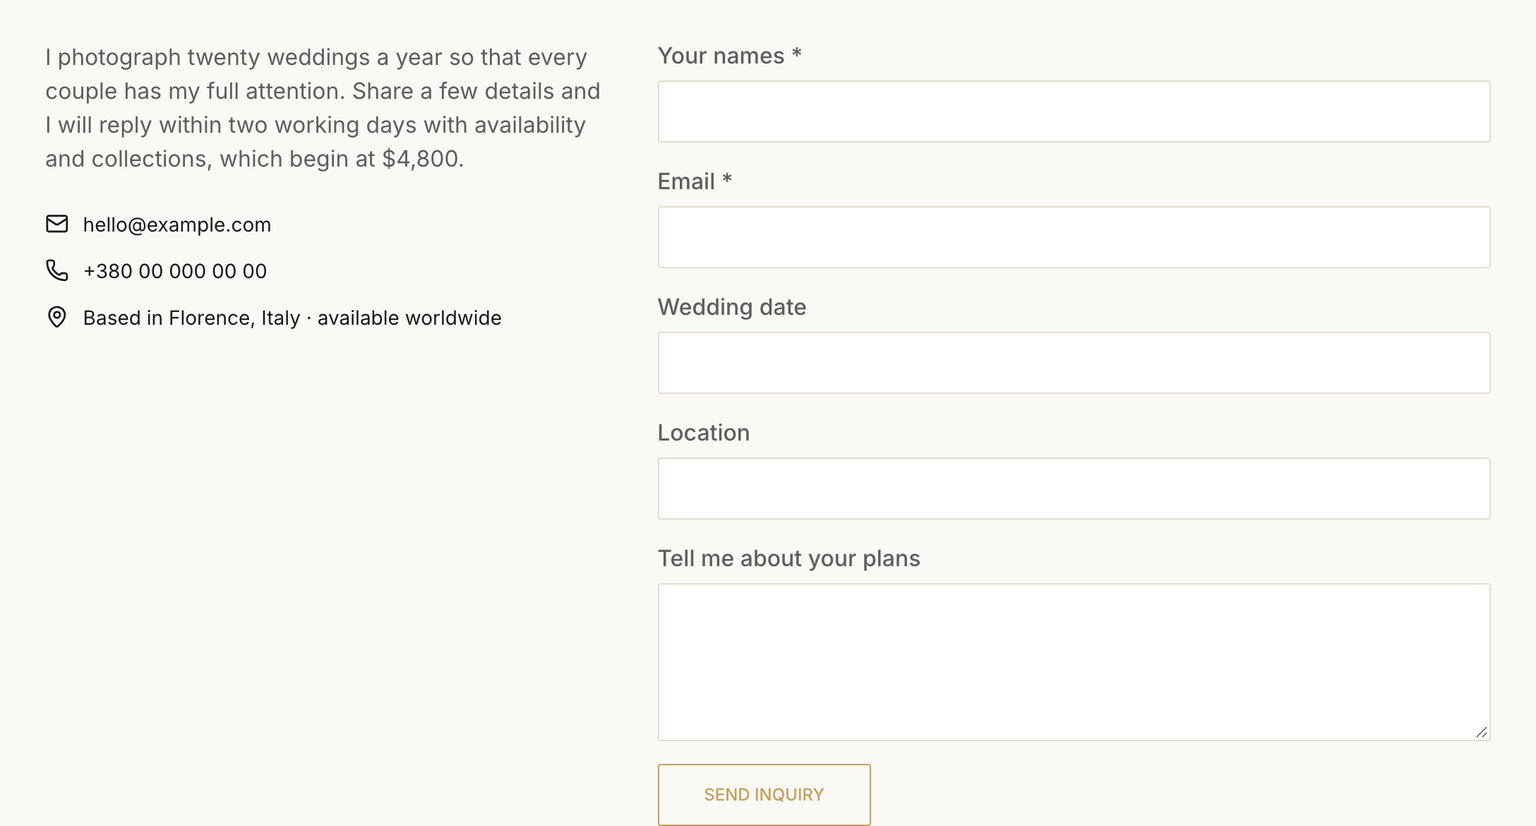
How to add a form
Most templates already have a form on the contact page. To add one to another page:
- Open the page in the editor.
- Hover over the block after which the form should go, and click “+” on its bottom edge.
- In the “Add block” window, choose “Contact form” in the “Contact” group.
One form per page is enough. It's usually placed on the contact page and at the end of the home page.
If you don't need a form, just contacts and social icons, choose “Contacts without a form” in the same group. Such a block doesn't send messages — clients contact you directly.
Form settings
Click the form block next to its fields — a panel opens on the right. Go to the “Content” tab.
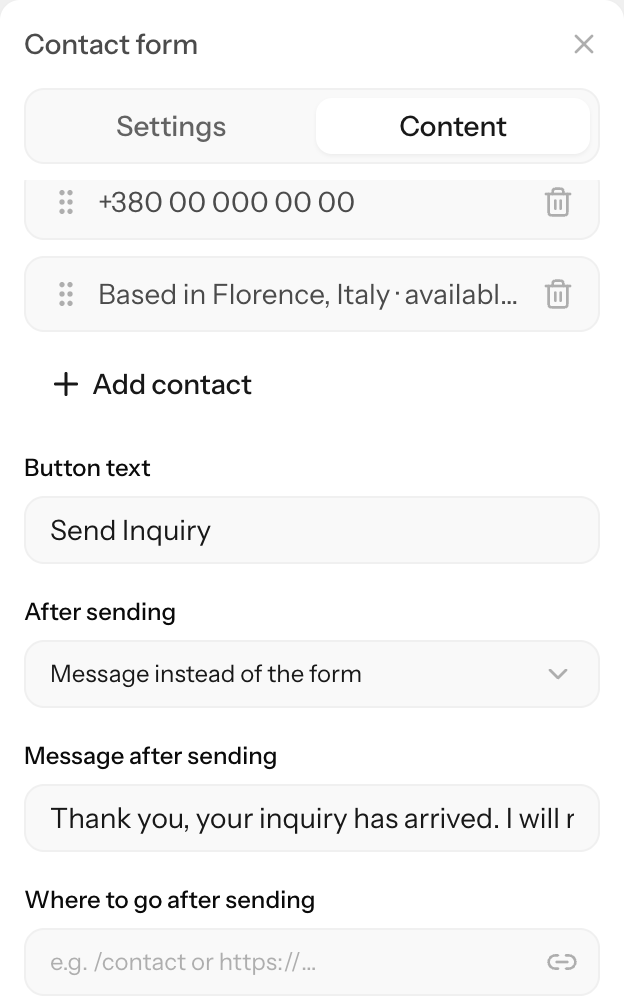
Form fields
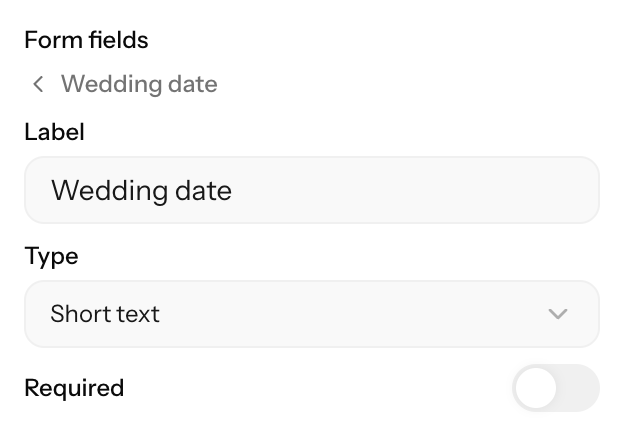
The “Form fields” list is what the client fills in. Click a field to change it:
- “Label” — the field name. The client sees it, and the value arrives in the message under this name.
- “Type” — short text, email, phone or long text.
- “Required” — the form can't be sent without this field. An asterisk appears next to the name.
The “Add field” button adds a new field. To change the order, drag a field by its ⋮⋮ handle. A form can have up to 20 fields.
For a photographer this set is usually enough: name, phone or messenger, type of shoot, date, city or location, and a comment. Ask for the date and location right away — you'll quickly see whether you're available. The fewer fields, the more willingly people fill the form in.
There are no date pickers, option lists, checkboxes or file uploads in the form yet. Use short text for a date, and suggest options in the label, such as “Type of shoot (wedding, family, portrait)”.
Contacts next to the form
To show text and contacts next to the form, choose “Contacts + form” in the “Layout” field on the “Settings” tab.
Contacts are set on the “Content” tab, in the “Contacts” list. The site creates links for them automatically:
- Phone and Email — the phone starts a call, the email opens a mail app.
- Address — leads to a search for the address in Google Maps.
- WhatsApp and Viber — enter a phone number: the link opens a chat in the messenger.
- Instagram, Telegram, Facebook, TikTok, Threads, YouTube, Pinterest, Behance, LinkedIn, X (Twitter) — enter an
@handle, just the handle, or a profile link, even withouthttps://. - Website and “Other” — for “Other”, enter your own text and link.
The button and what the client sees after sending
- “Button text” — for example, “Check availability” instead of “Send”.
- “After sending”:
- “Message instead of the form” — the form disappears and the text from “Message after sending” appears in its place;
- “Pop-up” — the same message in a window over the page, styled with your site theme's colors and fonts;
- “Go to a link” — the client goes to the page from “Where to go after sending”, such as a separate “Thank you” page.
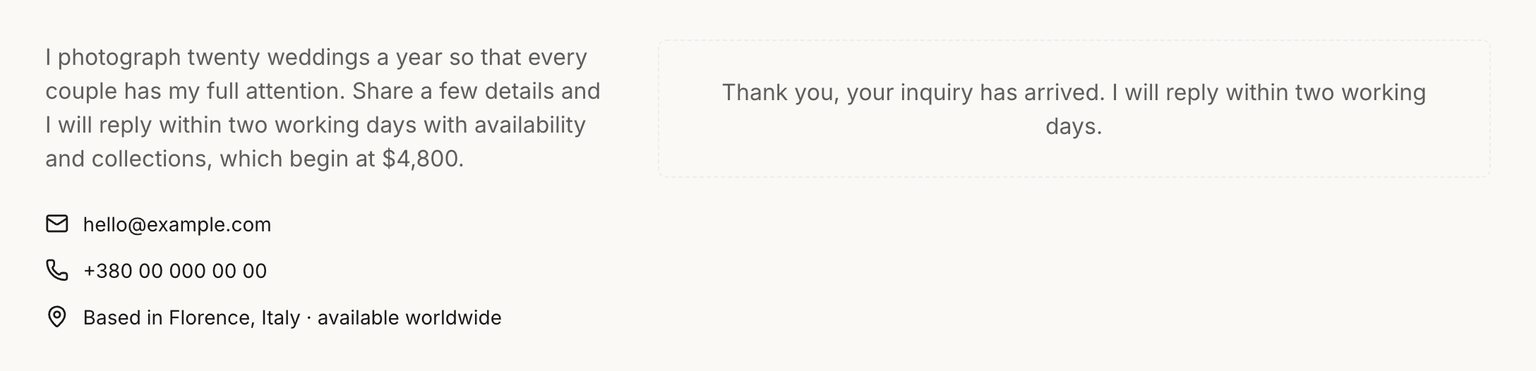
In the message, say what happens next and when you'll reply, for example: “Thank you! I'll reply within a day on Telegram or by email.” If the field is empty, the client sees “Thank you! We'll get back to you soon.” in the site's language.
Personal data
There's no consent checkbox for processing personal data in the form yet. If you need one, add a “Text” block under the form with a short explanation: who collects the data and why, plus a link to your privacy policy page.
Test the form
After publishing, send a test message from your phone and make sure it appears in your account, in the “Messages” section, and arrives by email. To hear about new messages even faster, connect Telegram notifications.
A message sent from “Preview” in the editor is real too: it appears in “Messages” and reaches you by email and in Telegram.