How to Add a Portfolio
Updated 20.10.2026 3 min read
The Portfolio section on your profile page is a key tool for showcasing your work to clients. Instead of showing all your photos one after another, Gallera lets you organize your work into categories so clients can get a feel for your style more easily.
Important: Before setting up your portfolio, make sure you’ve already created your basic profile.
1. Portfolio categories
For convenience, all the work in your portfolio is grouped into categories (for example, “Weddings”, “Portraits”, “Love Story”, and so on). On your public page, each category is shown as a separate gallery block.
How to add a new category
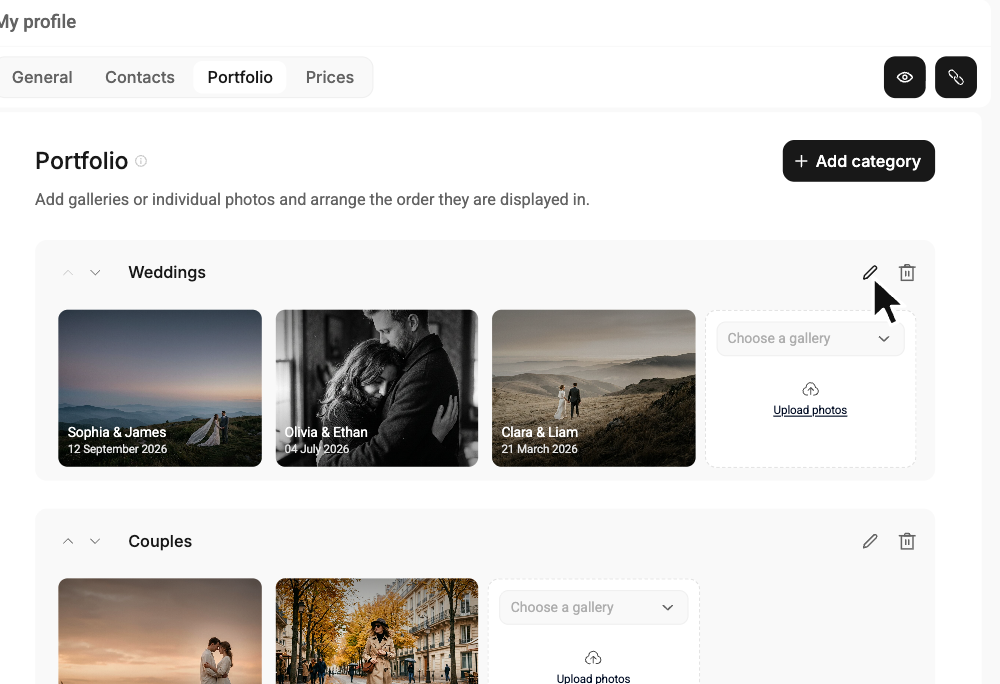
- Open My profile in the left menu and select the Portfolio tab.
- In the top-right corner, click + Add category.
- A new category named “Portfolio N” appears with a name field — type your own name.
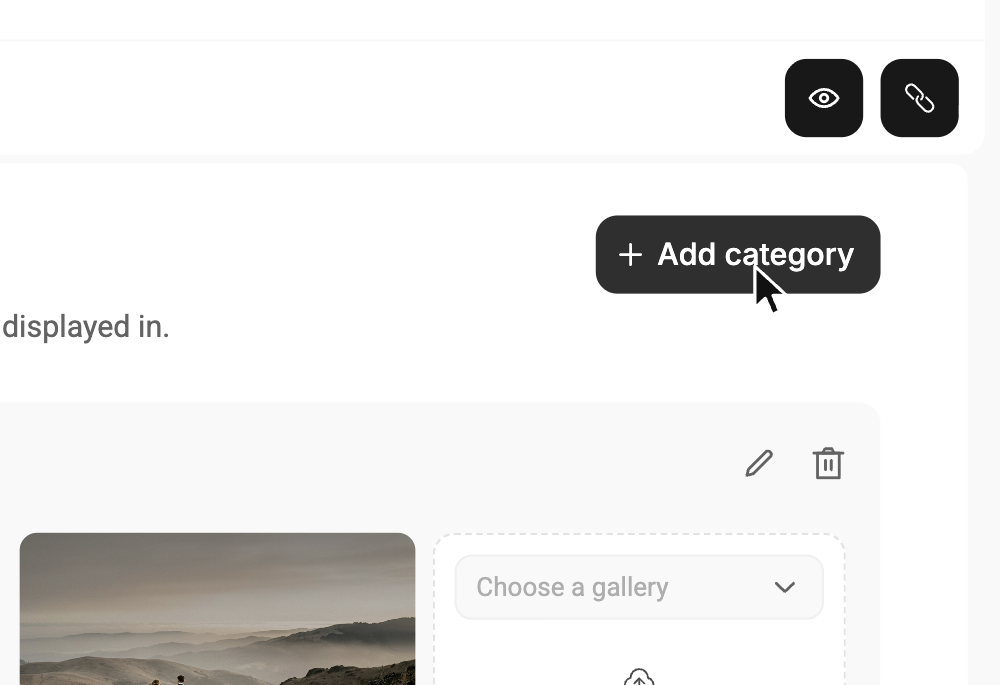
Empty categories are removed automatically, so add a gallery or photos to a new category right away.
Renaming and sorting
- Renaming: To change a category’s name, click the “Rename” pencil on the right side of its row.
- Sorting: You can change the order in which categories appear on your page: drag a category up or down, or use the ↑ ↓ arrows to the left of its name.
- Deleting: The trash button next to the pencil deletes the category together with all its items (photos uploaded to it will be deleted).
2. How to add work to a category
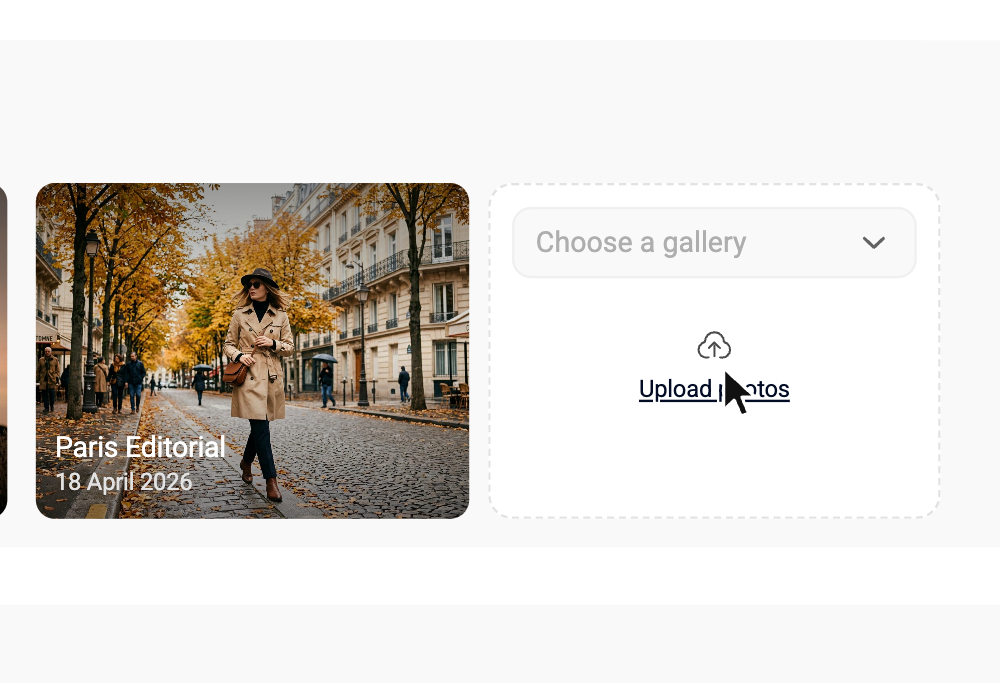
There are two ways to fill a category: add an existing client gallery or upload individual photos. Both are in the last card of the category, the one with a dashed border.
Option A: Add a client gallery (recommended)
This option lets clients not only see a beautiful cover but also click it to open the full gallery from your shoot. This greatly increases engagement.
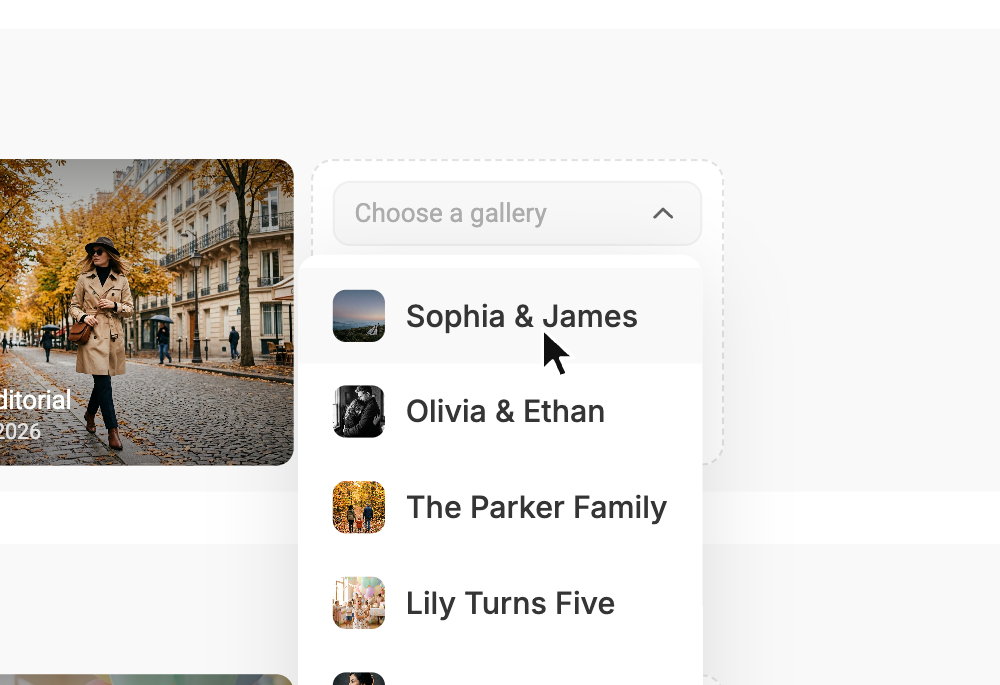
- In the card with the dashed border, click Choose a gallery.
- A dropdown list of all the galleries you’ve created opens.
- Select the one you need, and it’s instantly added to your portfolio. The gallery cover is pulled in automatically.
Option B: Upload individual photos
If you just want to show a great shot without linking to the full shoot, you can upload individual photos.
- In the same card, click Upload photos.
- Choose one or more files on your computer.
- The photos upload and appear in your category. On your public page, clicking a photo opens it full screen as a single image.
Uploading individual photos is available on paid plans only.
3. Managing items in a category
After you’ve added a few galleries or photos to a category, you can manage how they’re displayed:
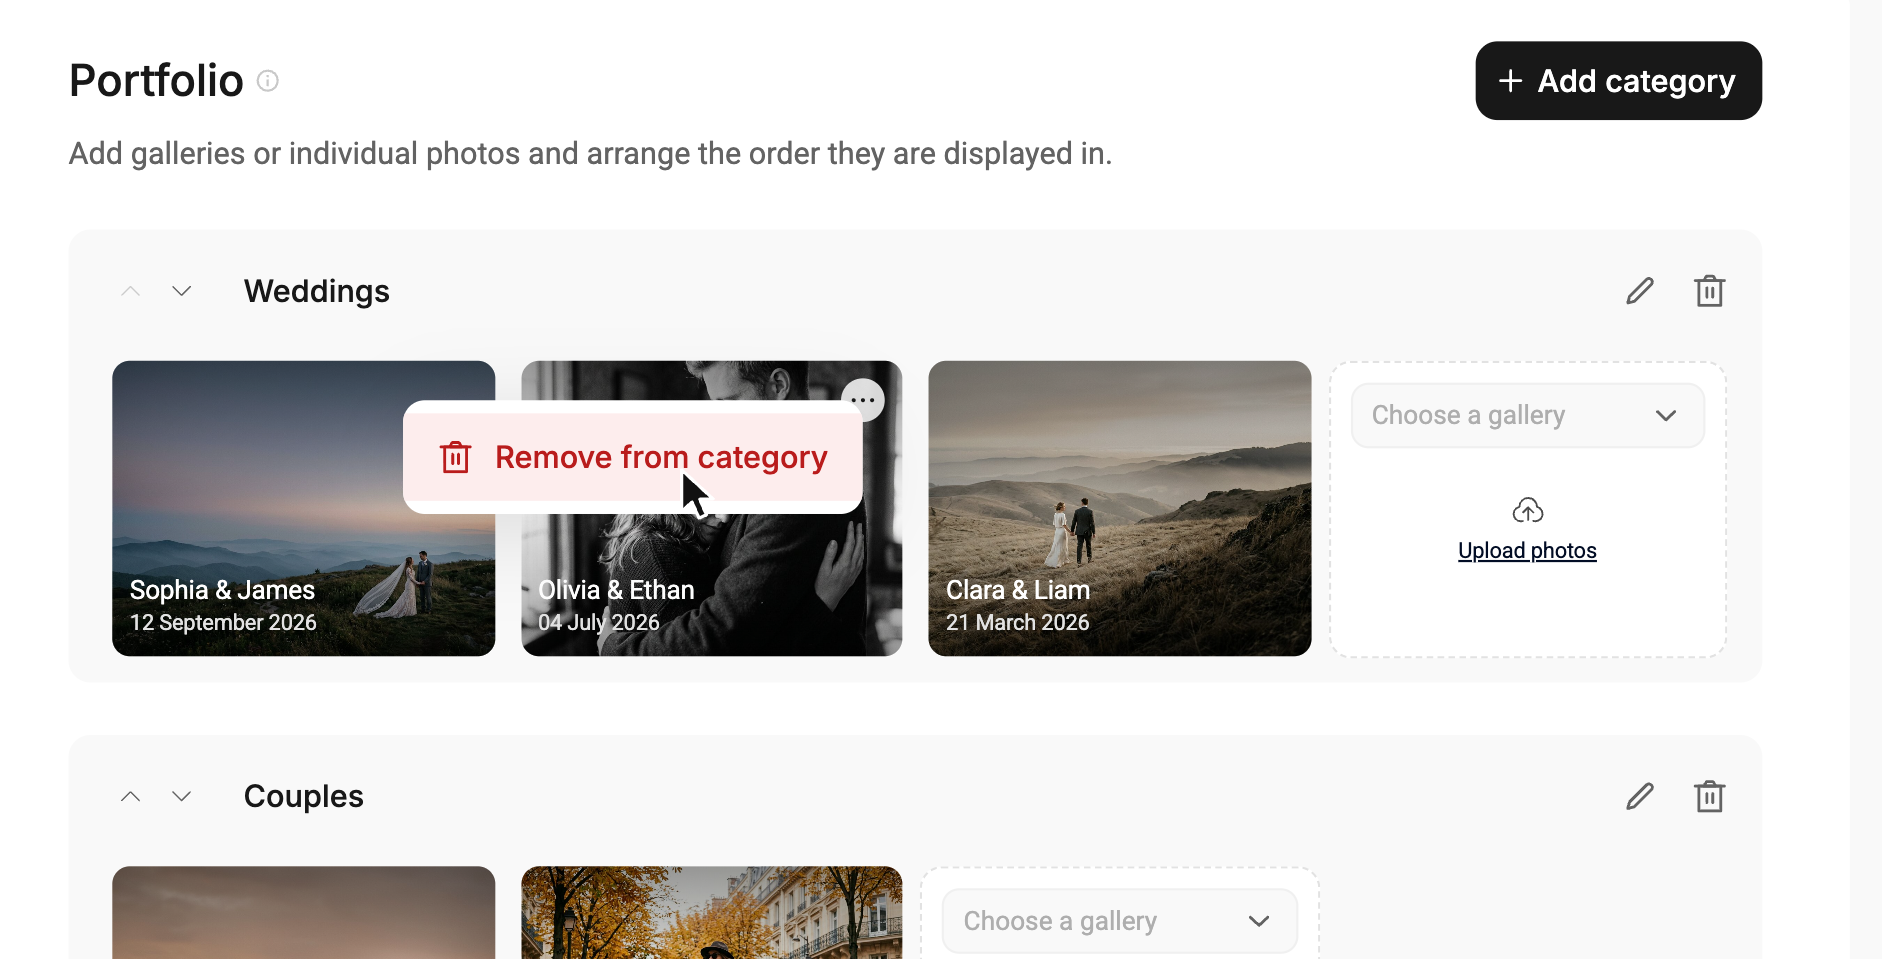
- Drag to sort: To change the order of galleries or photos, click an image and drag and drop it where you want it. All changes are saved automatically.
- Removing from the portfolio: To take a piece of work off public view, click “⋯” in the top-right corner of the image and choose Remove from category. This removes the work from your portfolio only — the gallery itself stays in your account.